eConsent Site User Guide#
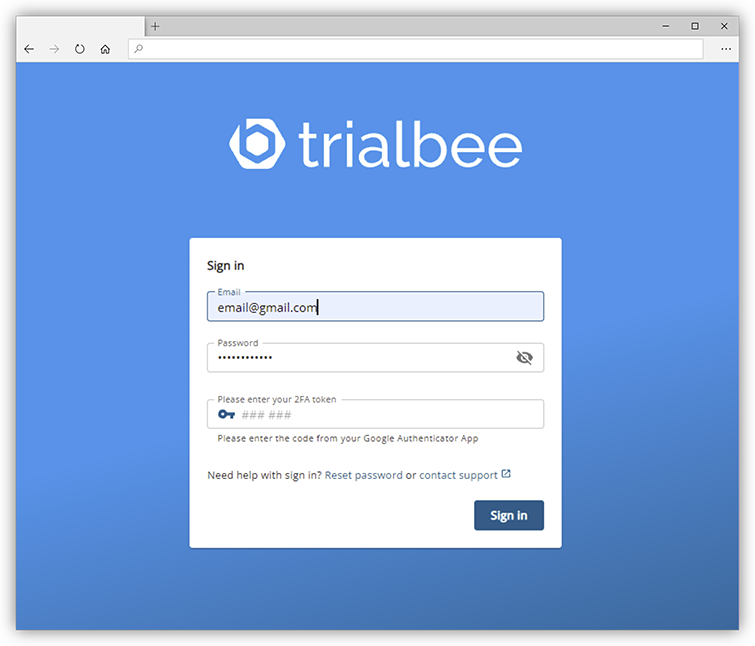
Platform Login#
You can login to the platform through https://app.trialbee.com/
Enter your username and password during setup.
Add Consentees#
- Select the study from the dropdown
- Select “consentees” to add new subjects

- Add a single consentee by clicking the "Add Consentee" button
- Add many consentees at once by clicking the "Import Consentees" button
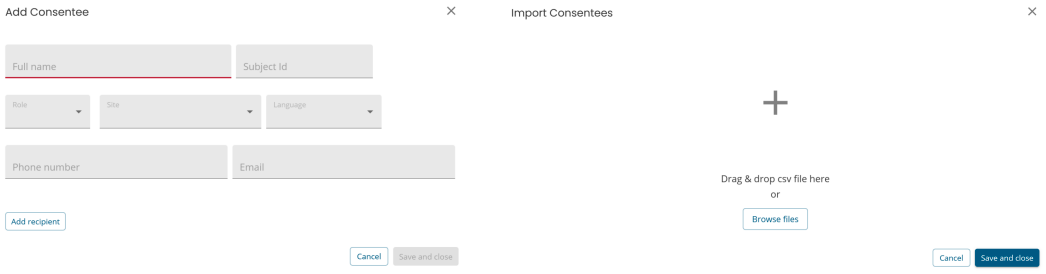
Consentee's Details#
- Enter the subject’s information into the fields
- Select the role for this person from the dropdown
- Optionally, add recipients – which may be the guardian or assentee
- Once complete, click “Save and close”
Note
You must enter the phone number in the international format
(for example, in the US it is Country Code + Area Code + Prefix + Line Number: +12223334444)

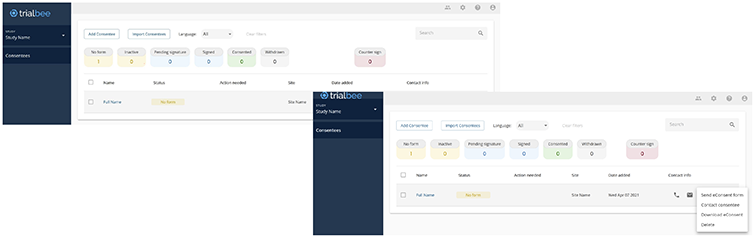
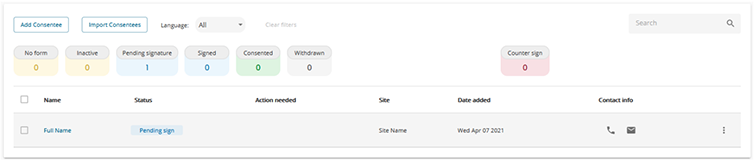
Viewing the Consentee#
- After clicking “Save and close”, the consentee will appear on the list
- The first status will always be “No Form”
- Click the "No Form" to see some additional options
- Click the name to see the individual’s details
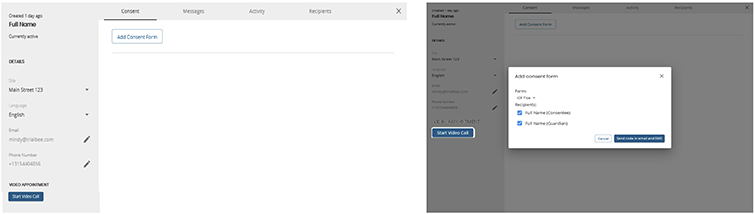
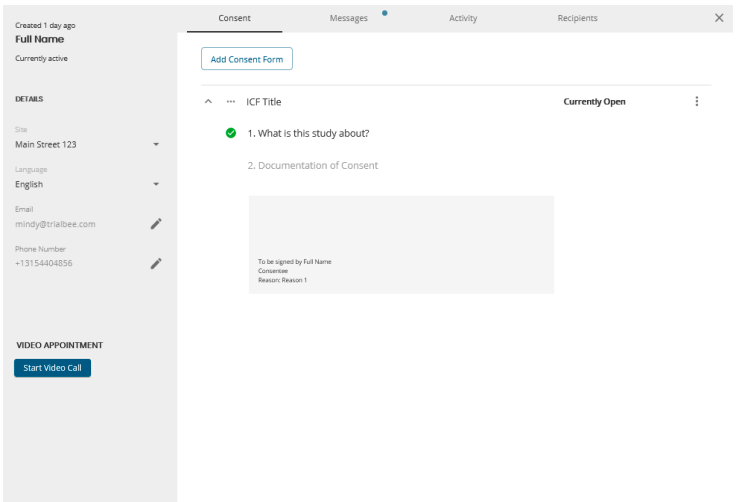
View and Edit the Consentee#
- Once you click the Consentee’s name, you will see their detailed information
- Click the different tabs on top to perform additional actions
Tip
If you need to change the Consentee’s information, click the pen icon or the dropdowns

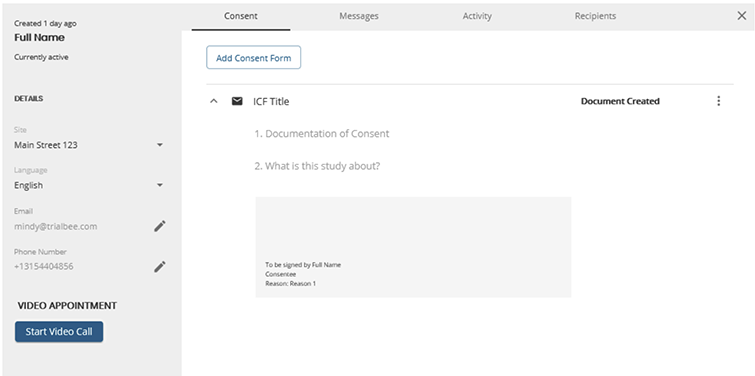
Add Form to Consentee#
Typically, after adding a consentee and their recipients, you will want to send the consent form
- Click the “Consent” tab, and click the "Add Consent Form" button
- A new screen will open – select the form you want to send as well as who you want to send the form to
- Click “Send code in email and SMS” button to officially send the form
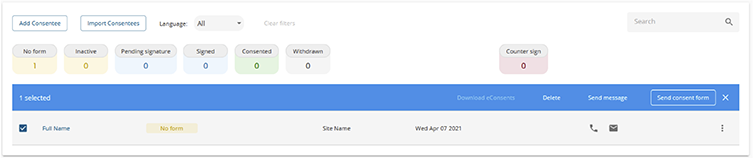
Bulk Actions#
If you have a large list of consentees, you can perform certain actions in bulk
- Select the consentees you want by checking the box next to their names
- A blue box will appear, and you can perform bulk actions as you wish
Tip
At the study close, this is the best way to retrieve all signed consent forms
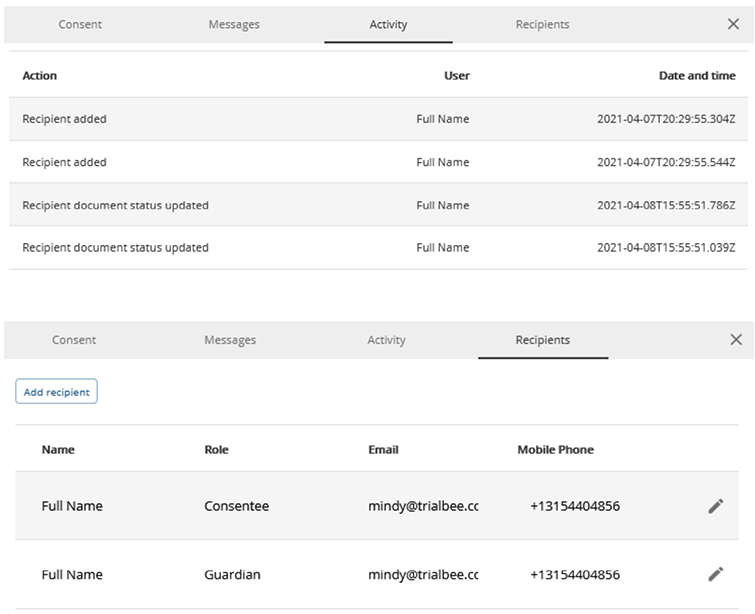
Form Status & Additional Recipients#
Once you have sent a form, you can see the status of the form by clicking the “Consent” tab
- View all activity associated with this individual using the “Activity” tab
- You can edit or add recipients using the “Recipients” tab
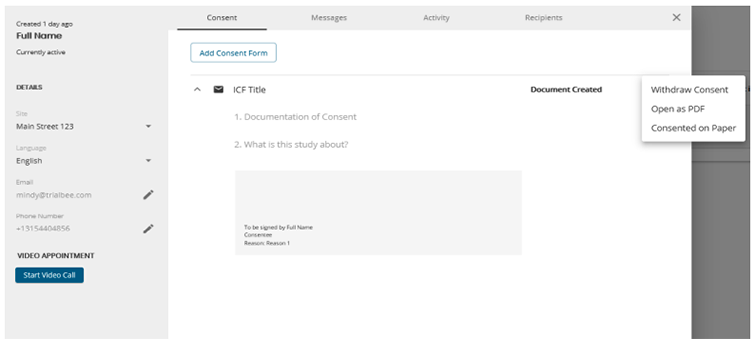
Withdraw, Download, Wet-Sign#
On the “Consent” tab, click the three vertical dots (on the right) to:
- Withdraw the Consent
- Open the ICF as a PDF
- Update the subject’s status to “Consented on Paper”
Recipient Access#
The consentee’s status will now be automatically updated to “Pending Signature”
Form Progression#
As the recipients progress through the form, you will see updates in the “Consents” tab
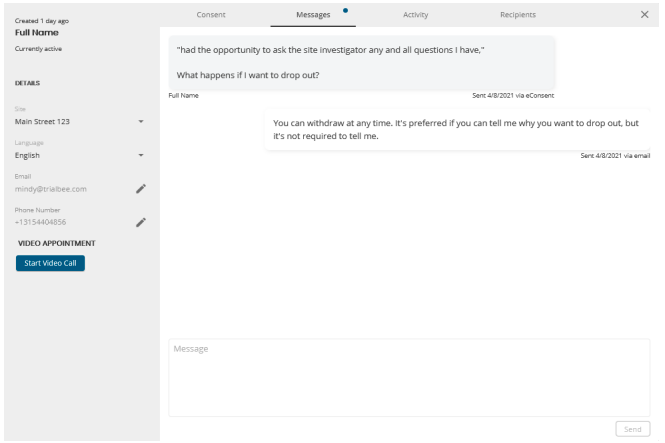
Messaging#
- You may receive messages from the recipients
- Click the “Messages” tab to view them and reply
- You will receive emails letting you know of new messages
No Countersignature#
If no Countersignature is required, the status will update to “Consented” after the subject & all other recipients have signed

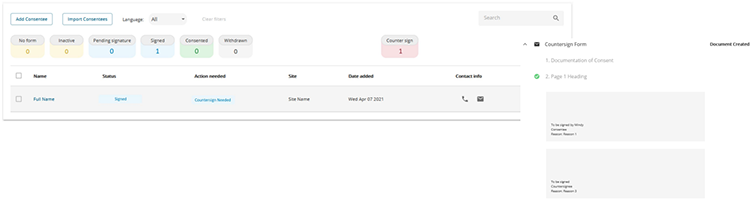
Countersignature#
- Once all recipients sign the form the status updates to “Signed”
- You will see countersign in the "Action needed" column
- If your site needs to countersign, you will see a number in the “Counter sign” box as well as the “Action needed” column
- The PI will countersign by opening the details, clicking the “Consent” tab, and signing in the box
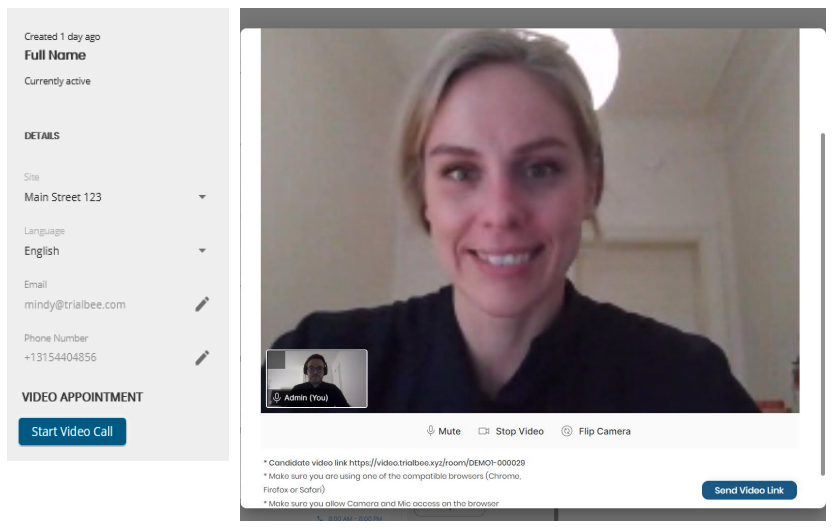
Video Call Option#
- Click the “Start Video Call” button (on the bottom left) to start a video call session
- The subject will receive a link and once they click it, you can discuss over video
.png)
